
Once you have chosen an SPC floor, the last decision before laying is which way the planks should run. It is easy to overlook, but direction affects how large a room feels and how natural the floor looks. These are the rules the trade uses.
Follow the light
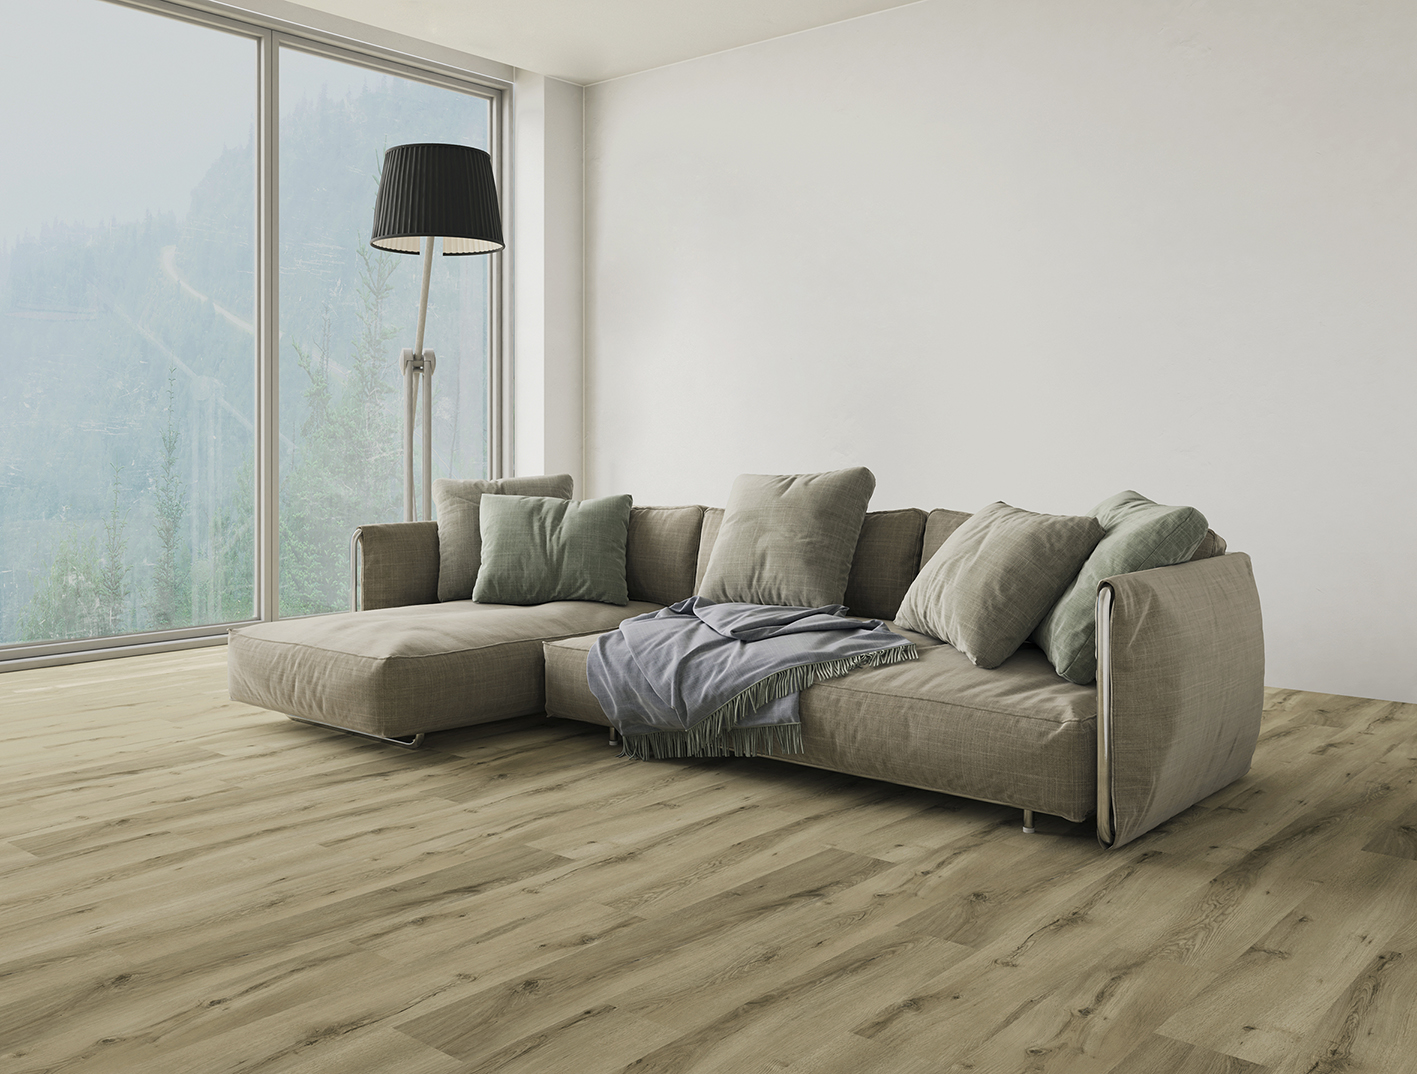
The most reliable rule is to run planks in the same direction as the main source of natural light, usually from the largest window. Light running along the boards makes joints less visible and the floor look more seamless.
Lengthen the room
Running planks along the longest wall draws the eye down the room and makes it feel larger and more open. In narrow rooms and hallways, laying the planks down the length almost always looks best.
Keep open-plan spaces consistent
In open-plan areas, run the floor in one continuous direction across the whole space rather than changing between zones. A single direction ties the areas together and avoids awkward transitions.
When rules conflict
Sometimes the light and the longest wall point in different directions. As a rule of thumb, follow the light in bright, window-led rooms and the longest wall in narrow or corridor-like spaces. Lay a few loose planks both ways and look before you commit.

Hallways and corridors: run with the traffic
Corridors have their own rule that overrides the light. Planks should run along the corridor's length, in the direction people walk. Run them across a narrow hallway and you produce a ladder of short boards and constant joints that makes the space feel even narrower and busier. Run them lengthwise and the lines pull the eye down the corridor, the floor uses full planks, and cutting waste drops. Since hallways connect to rooms, decide the corridor direction early; it often ends up setting the direction for the spaces it feeds.
The stagger pattern matters as much as the direction
Direction is only half the layout; the other half is how end joints fall from row to row. Aim for a random-looking stagger with generous offsets between neighbouring rows, and avoid two traps. The first is stair-stepping, where offsets repeat in a marching diagonal that the eye catches instantly. The second is H-patterns, where joints align every other row. Dry-lay a few rows to check the rhythm and use the offcut from one row's end to start another; it saves material and breaks up the pattern naturally.
Herringbone changes all the rules
Choose a herringbone or chevron layout and the direction question transforms: the pattern has no single grain, so light and room-lengthening rules fade, and what matters instead is where the pattern's spine sits. Centre the spine on the room's visual axis, a fireplace, the main window, or the centreline of the hall, and let the pattern run from there. Herringbone consumes more material in cuts and more patience in layout than straight planks, so the planning stage gets longer, but the geometry rewards it in rooms meant to impress.
Plan the thresholds before the first plank
Where the floor changes rooms, direction and level must be decided as a pair. Running planks continuously through a doorway looks cleanest but demands the same direction on both sides and a floor plan that allows proper expansion in each space. A transition profile under the door leaf frees each room to have its own direction and its own expansion zone, which large or complex floors often need. Sketch every doorway on the plan and decide continuous or profiled at each one before laying, because arriving at a doorway without a decision produces improvised joints that show forever.
Direction changes your waste, not just your view
Few people realise the direction decision has a material cost. Running planks along a room's long axis generally uses boards efficiently: fewer rows, longer runs, and end cuts that often start the next row. Running across multiplies rows and end cuts, and diagonal layouts raise the waste further since every wall meets the planks at an angle. In one room the difference is a box or two; across a whole house or a project floor, it is real money. When two directions look equally good aesthetically, let the cutting plan break the tie.
Step by step
- 01
Find the main light
Identify the largest window and plan to run planks in the same direction as the light.
- 02
Check the longest wall
In narrow rooms and hallways, run planks along the length to lengthen the space.
- 03
Keep it continuous
Across open-plan areas, use one direction throughout rather than changing per zone.
- 04
Test before laying
Lay a few loose planks both ways and view them in the room's light before you commit.
Talk to MILAT Floor
Samples, specifications, OEM & private label, wholesale or export — our team is ready.