
MILAT Floor uses a licensed Unilin click locking system, so planks lock together without glue or nails. Installation is tool-free, up to 60% faster than traditional methods, and reversible — planks can be unlocked and reused.
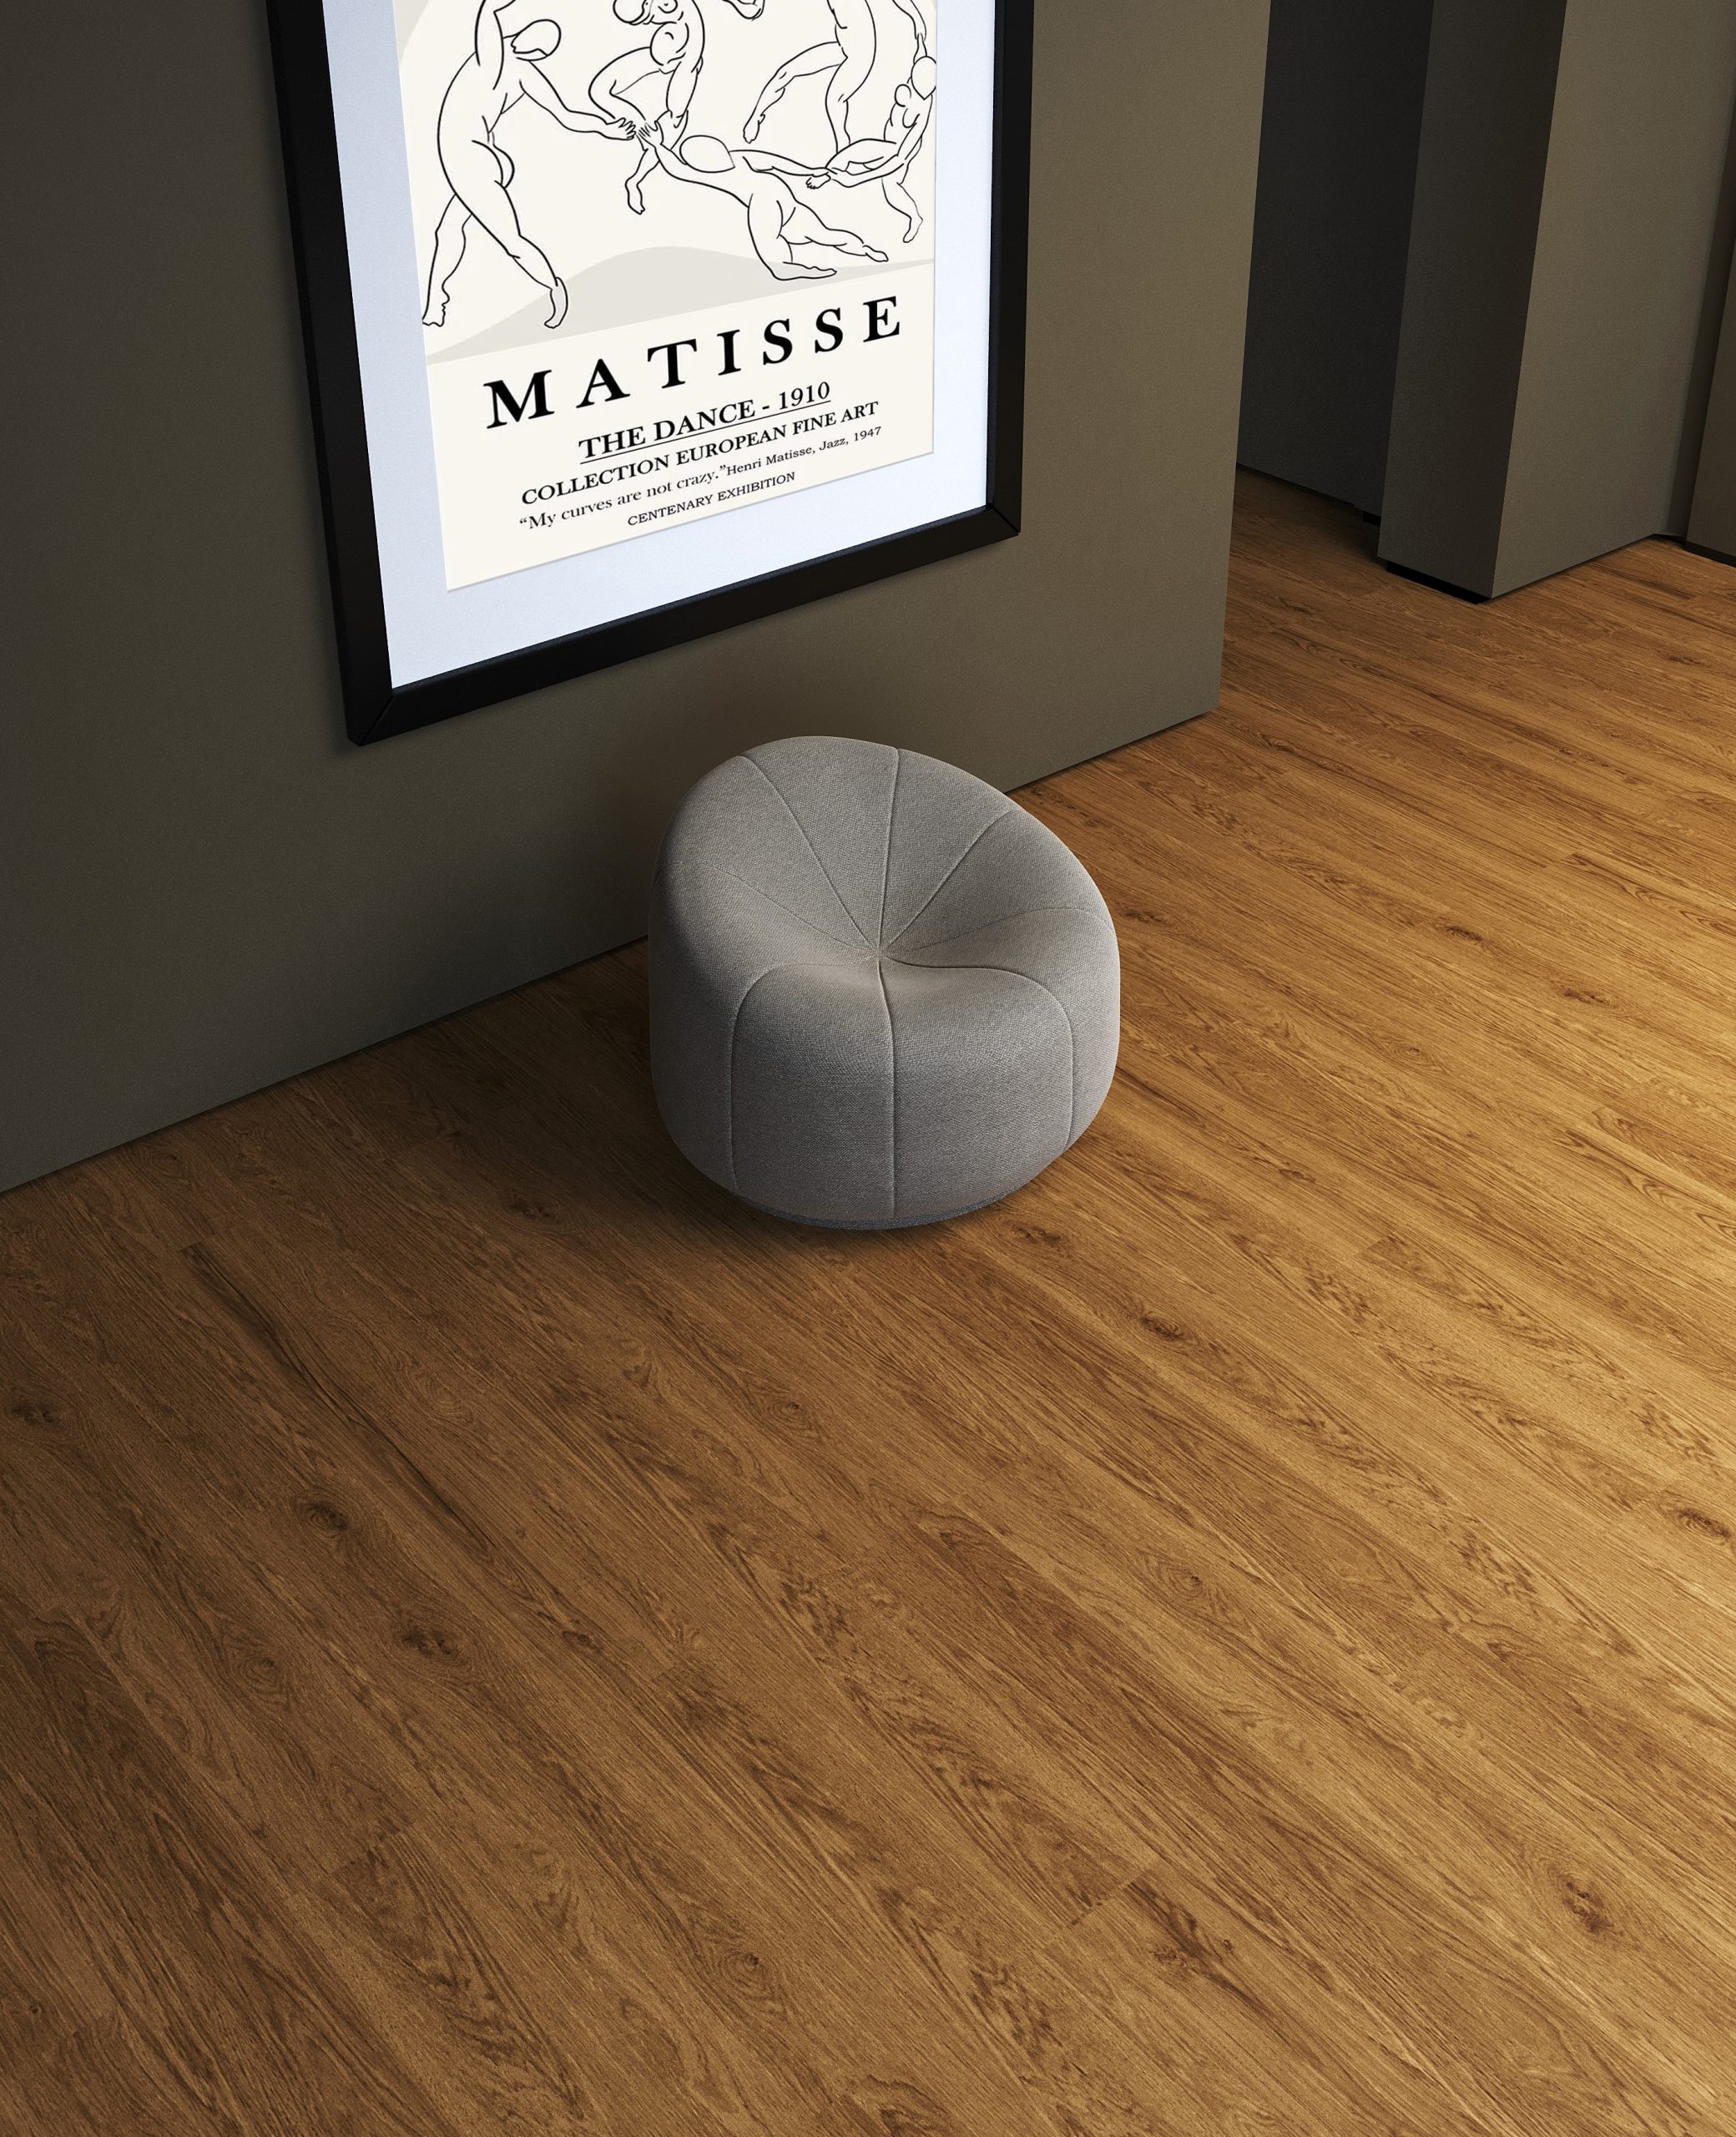
Before you start
- Let the planks acclimate to the room before installation.
- Make sure the subfloor is clean, flat and dry.
- Plan the layout so plank direction and row joints look balanced.
Why the Unilin click system helps
- Tool-free — no adhesive and no nails, so anyone can install planks cleanly.
- Up to 60% faster than traditional glue-down methods.
- Reversible — planks can be unlocked and reinstalled for repairs or reconfiguration.
- Airtight joints that stay locked under traffic and humidity, with zero adhesive.
Plan the laying direction before you open a box
Most rooms look best with planks running parallel to the longest wall or towards the main light source, so the joints catch less light. But direction is also structural: long runs of plank are more stable along their length than across it, so in a narrow hallway you want planks running down the corridor, not across it. Dry-lay a single row before committing. It takes five minutes and tells you two things: whether the last row against the far wall will end up too narrow, and whether your first wall is actually straight. If the final row would be a sliver, trim the first row so both edges of the room carry a similar plank width.
Stagger the joints like a bricklayer
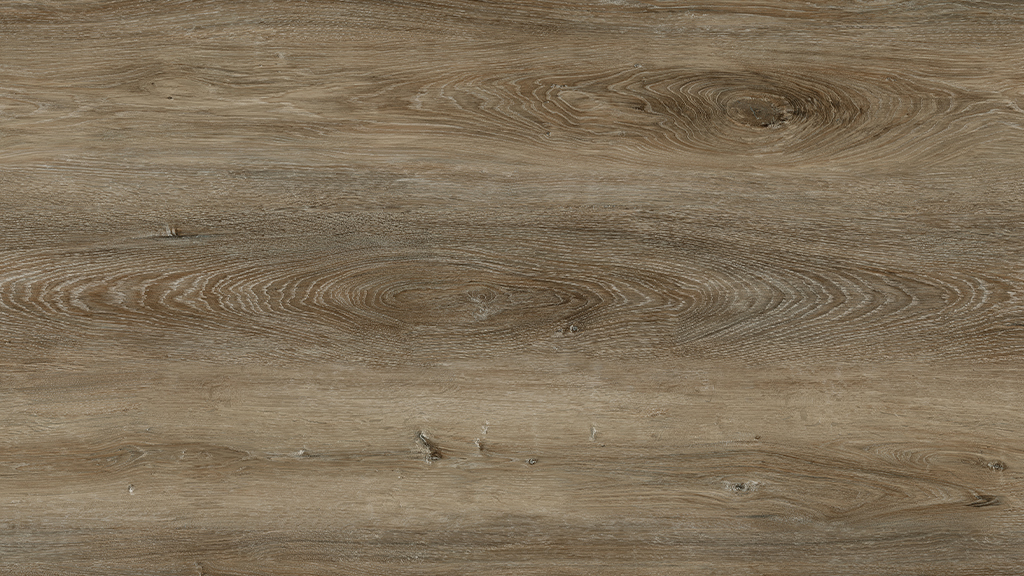
Short ends that line up row after row create weak points and an obvious ladder pattern across the floor. Offset each row so the end joints land well away from the joints in the row before, and vary the offset so no repeating stair-step appears. The offcut from the end of one row often makes a perfect starter for the next, which keeps waste down and the stagger natural. Avoid starter pieces so short that the plank has almost no locked length; a stubby piece near a doorway is the first thing to work loose under traffic.
Cutting planks cleanly without dust everywhere
One quiet advantage of SPC over laminate is how it cuts. Score the decor surface firmly with a sharp utility knife against a straightedge, then snap the plank over your knee or a table edge. No saw, no dust, no chipped edges. For notches around door frames and pipes, a jigsaw or oscillating tool works, but cut with the decor face in the correct orientation for your blade so any chip-out lands on the hidden side. Undercut door architraves with a hand saw and slide the plank beneath them; it looks far better than scribing around the moulding and hides the expansion gap at the same time.
The mistakes we see most often
- Hammering directly on the click edge instead of using a tapping block, which crushes the locking profile
- Forcing a plank that will not seat; with Unilin the angle does the work, so resistance means debris in the groove
- Ignoring grit and screed crumbs under the row, which telegraph through as clicks and creaks later
- Locking the floor tight under kitchen cabinets or heavy fixed furniture so it cannot float
- Skipping the dry-lay and ending with a two-centimetre sliver against the most visible wall
Finishing touches that separate neat from professional
The floor is only half the job. Fit transition profiles at doorways where the floor meets tile or carpet, and choose skirting or quadrant beading that covers the perimeter gap with a little room to spare. Silicone the junction in wet areas where skirting meets the floor edge. Walk the whole room before the furniture returns and press each joint; anything that flexes now is a five-minute fix, and a callback later. Because MILAT planks use the licensed Unilin profile, a plank that went in wrong can be angled back out and reseated without damage, so there is no excuse to leave a proud joint in place.
Step by step
- 01
Align
Slot the long edge of the plank into the adjacent plank at a low angle.
- 02
Press
Lower the plank down flat so the long edge fully engages.
- 03
Lock
Use a tapping block on the short end to fully engage the joint.
- 04
Done
The joint stays airtight — there is no drying time, so you can walk on it immediately.
Talk to MILAT Floor
Samples, specifications, OEM & private label, wholesale or export — our team is ready.