
Ordering flooring is one calculation most people do only once, so it is easy to get wrong. Order too little and you wait weeks for a second delivery — often from a different batch. Order far too much and you have paid for boxes you will never open. This guide shows the simple method the trade uses: measure the area, add a waste allowance, then convert to boxes.
Step 1 — Measure the floor area
Measure the length and width of the room in metres and multiply them to get the area in square metres (m2). For rooms that are not a simple rectangle, split the space into rectangles, work out each one, and add them together. Include doorways and alcoves where the floor will run.
Step 2 — Add a waste allowance
You always need slightly more flooring than the bare room size, because planks are cut at the walls and around obstacles, and you want spare boards for future repairs. The amount of waste depends on how the floor is laid.
| Installation | Add for waste |
|---|---|
| Straight lay, simple rectangular room | 5% |
| Straight lay, irregular or angled room | 7–10% |
| Diagonal or herringbone / chevron | 10–15% |
Multiply your measured area by the allowance. For example, a 20 m2 room laid straight with a 10% allowance needs 20 x 1.10 = 22 m2 of flooring.
Step 3 — Convert square metres to boxes
Flooring is sold by the box, and each box covers a set number of square metres that is printed on the pack and on the product spec sheet. Divide the area you need (including waste) by the coverage of one box, then round up to the next whole box. Never round down — a part box short still means a second order.
- Find the m2 per box on the box label or the downloadable spec sheet.
- Boxes needed = area with waste ÷ m2 per box, rounded up.
- Keep at least one spare box sealed for future repairs.
A worked example
Say a kitchen-diner measures 5 m x 4 m. The area is 20 m2. Laid straight in a slightly irregular room you add 10%, giving 22 m2. If one box covers 2.2 m2, you need 22 ÷ 2.2 = 10 boxes. Order 10 and keep one aside as your repair spare.
Order from the same batch
Colour and texture can vary very slightly between production batches. Ordering everything in one go — including your waste and spare — means every plank comes from the same batch, so the floor looks consistent and any future repair board matches.
Laying direction changes your waste, not just your look
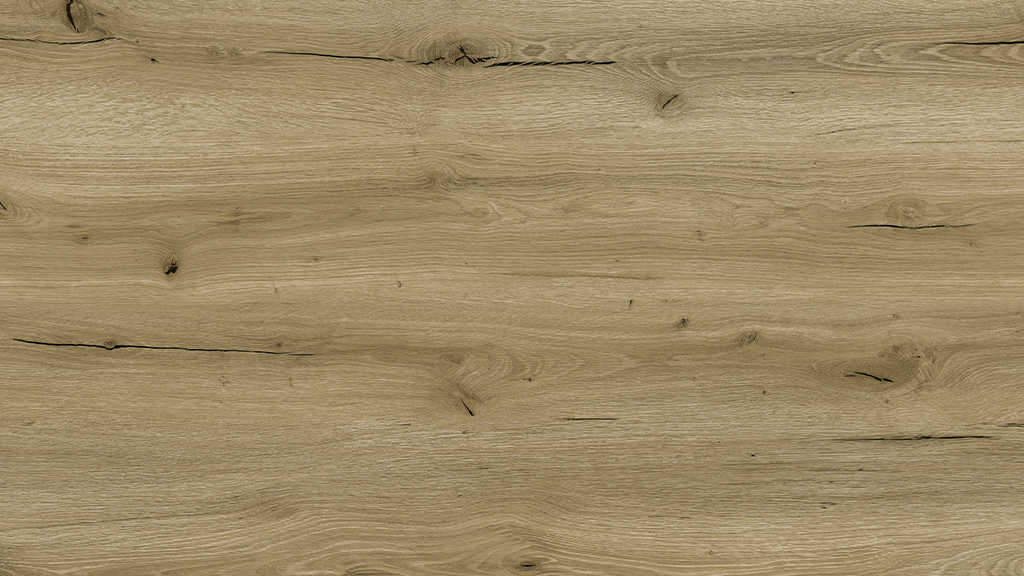
Plank direction is usually chosen for light and room proportion — planks running toward the window, or along the longest wall. But direction also drives waste. Running planks parallel to the long wall of a rectangular room produces long, reusable offcuts; running across it multiplies the number of rows and end cuts. Diagonal laying looks striking and costs the most material of all, since every wall row ends in an angled cut with limited reuse. Decide direction before you order, and if you choose diagonal, increase the waste allowance accordingly.
Awkward rooms punish neat calculations
The classic formula works for rectangles, and almost no real room is one. L-shaped living rooms, bay windows, angled walls under stairs, kitchen islands and built-in wardrobes all generate cuts that cannot be reused elsewhere. The practical method is to break an awkward room into rectangles, calculate each, and let the overlap at the joins act as a small buffer. Rooms with many separate edges — a hallway feeding five doorways, for instance — consume more material per square metre than one open space of the same area, and your waste allowance should respect that.
One continuous floor or room by room?
Running one decor through connected spaces without thresholds looks superb and is popular with SPC because the stable core permits generous continuous areas. For quantity, though, a continuous layout must be measured as one field: rows have to line up through doorways, which fixes the starting point and creates cuts a room-by-room installation would avoid. If you are flooring several rooms with thresholds, calculate each room separately. If you are flooring them as one flowing surface, measure the whole footprint and add a slightly higher allowance for the alignment cuts.
Stairs are measured per step, not per square metre
If your project includes stairs, area maths breaks down. Each step consumes a tread piece and a riser piece, usually cut from full planks with limited reuse of the remainder, plus stair nosing profiles by length. Count the steps, note their width, and price nosings alongside the planks. Winders — the wedge-shaped turning steps — are the greediest, as each can consume a full plank alone. Many suppliers, MILAT included, will help convert a stair count into a material list if you share photos and dimensions.
For projects: take-off discipline at volume
Ordering for a project multiplies every estimating habit, good or bad, by the number of units. Measure from construction drawings but verify against built dimensions, because as-built rooms drift from plan. Order each phase from a single batch, and hold a project-level spare stock rather than relying on per-unit leftovers that vanish from site. One more discipline: reconcile actual usage after the first units are floored, and correct the per-unit figure before releasing the next order. Small per-unit errors are invisible in one apartment and expensive across eighty.
Step by step
- 01
Measure the area
Multiply length by width in metres; split odd shapes into rectangles and add them up.
- 02
Add a waste allowance
Add 5% for a simple straight lay, up to 10–15% for irregular rooms or diagonal and herringbone patterns.
- 03
Convert to boxes
Divide the area (with waste) by the m2 per box and round up to the next whole box.
- 04
Add a spare box
Keep at least one sealed box from the same batch for future repairs.
Talk to MILAT Floor
Samples, specifications, OEM & private label, wholesale or export — our team is ready.